This idea is certainly not my own, but, with a little tongue in cheek, I want to share it with you after I made my own and saved myself quite a few quid / pounds / dollars.
If you find yourself in need of an ashtray or butt bucket for your garden or patio table, you can look online and pay somewhat more than you would usually for the items if you'd only make your own. After all, no one wants to spend a lot of money to hide something as unsightly as cigarette butts.
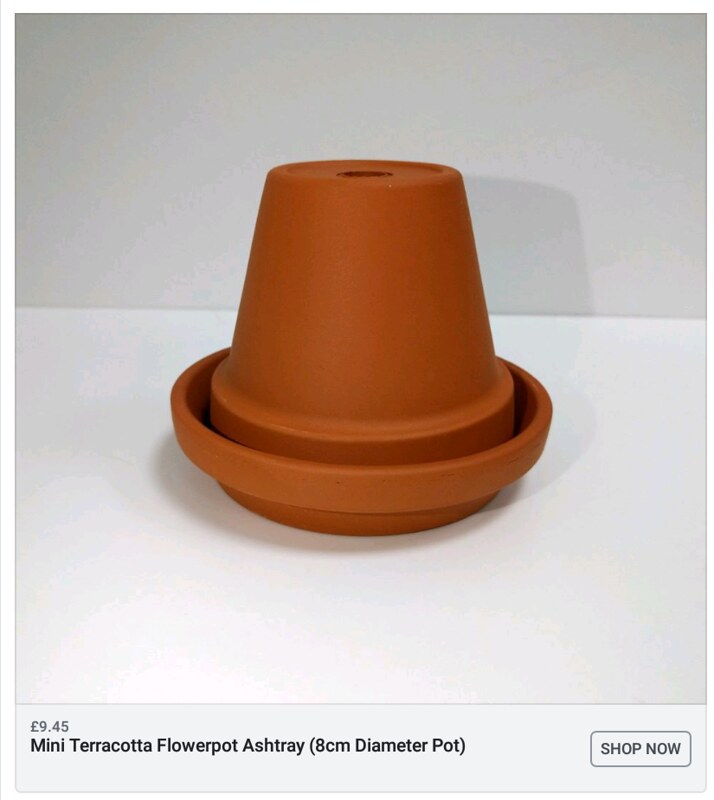
This project is so simple, it's ridiculous and will save you loads of money. You only have to check out eBay or Etsy to see how much money people are making off of these!
You will need:
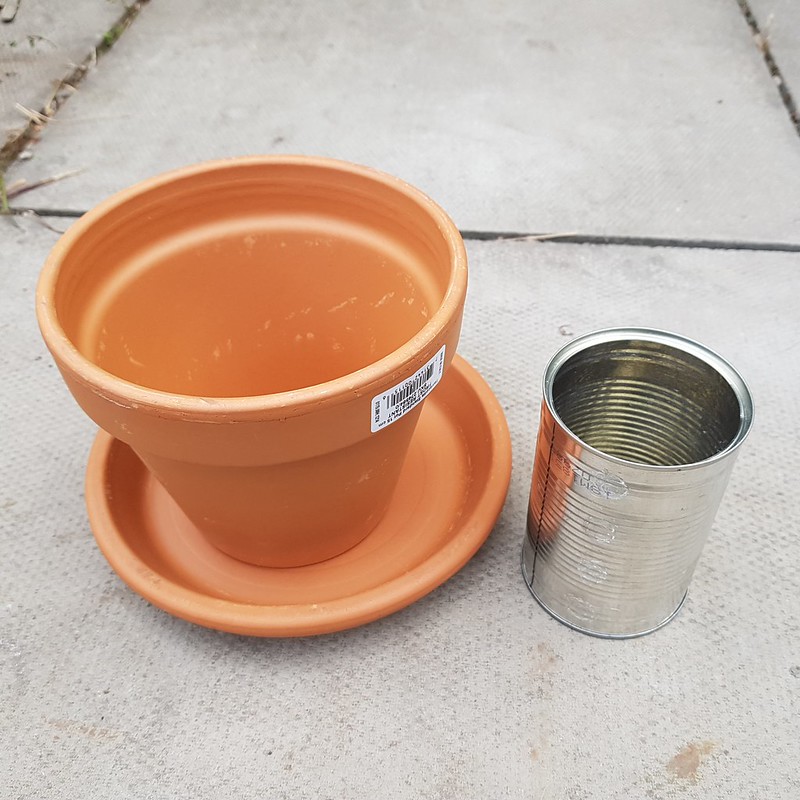
- A terracotta plant pot size and colour of your own choice - Mine is a 15cm pot
- A terracotta saucer (see below for sizes)
- A tin can:
- Food can
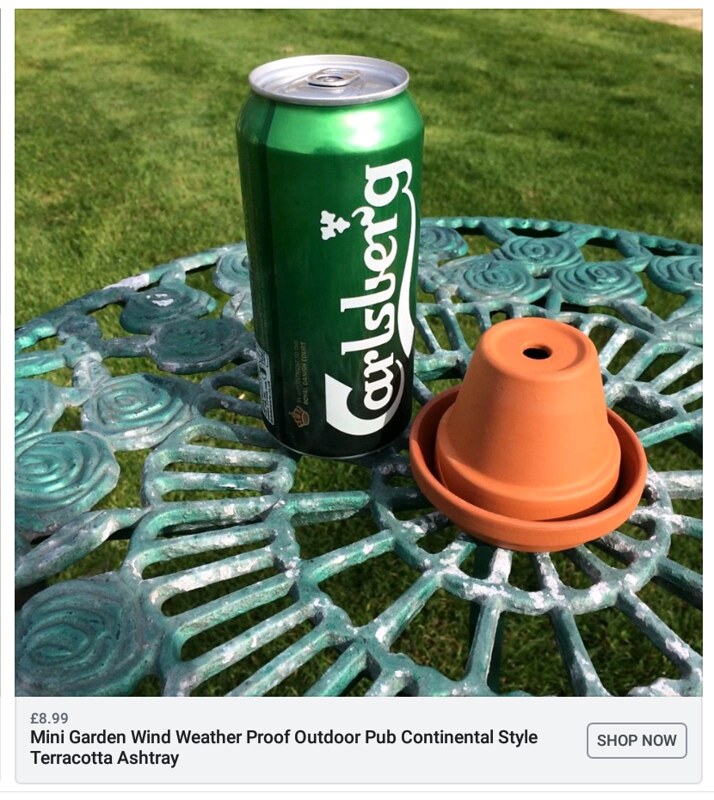
- Beer can
- As long as it's non-flammable
Here's how:
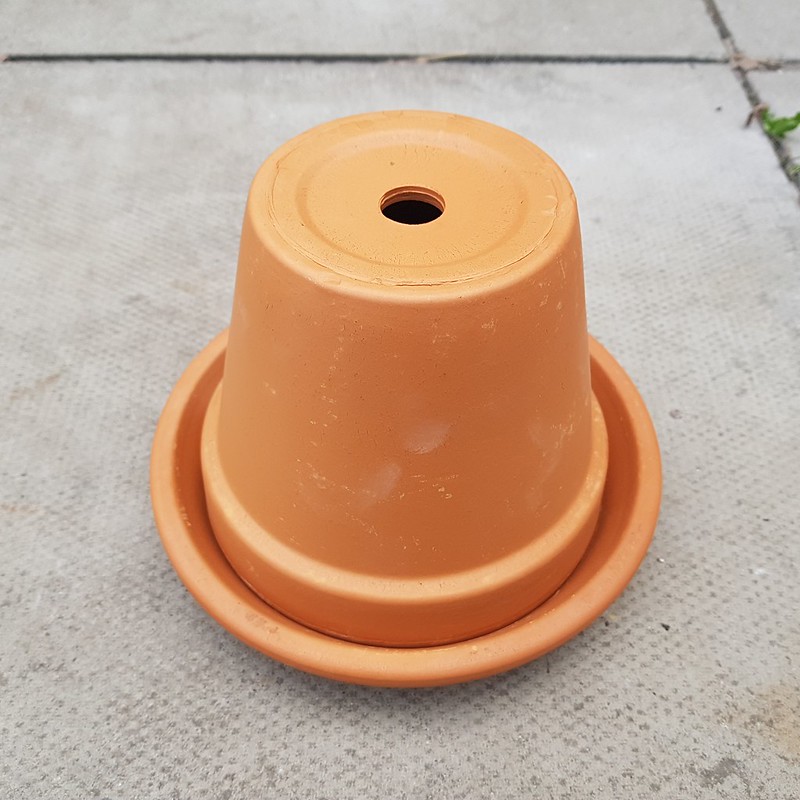
The first thing you need to ensure is that your plant pot and saucer are terracotta!
The next thing is to ensure that the upended pot fits inside the saucer (see above). Are you with me so far? Cool. Here comes the 'technical bit' ...
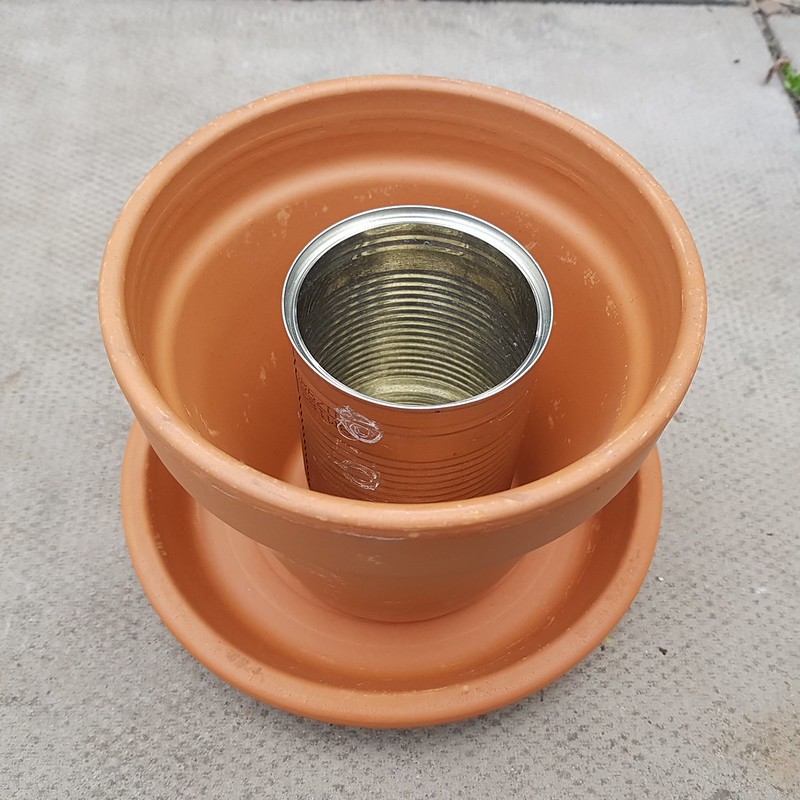
Turn your pot the correct way up to check that the bean can fits inside. If it does not, for example, it's just way to big for your pot, consider a beer can or fizzy drinks can. Trim the top off and, very carefully, crimp the top of the can over, so there are no sharp edges.
This next bit might be confusing ...
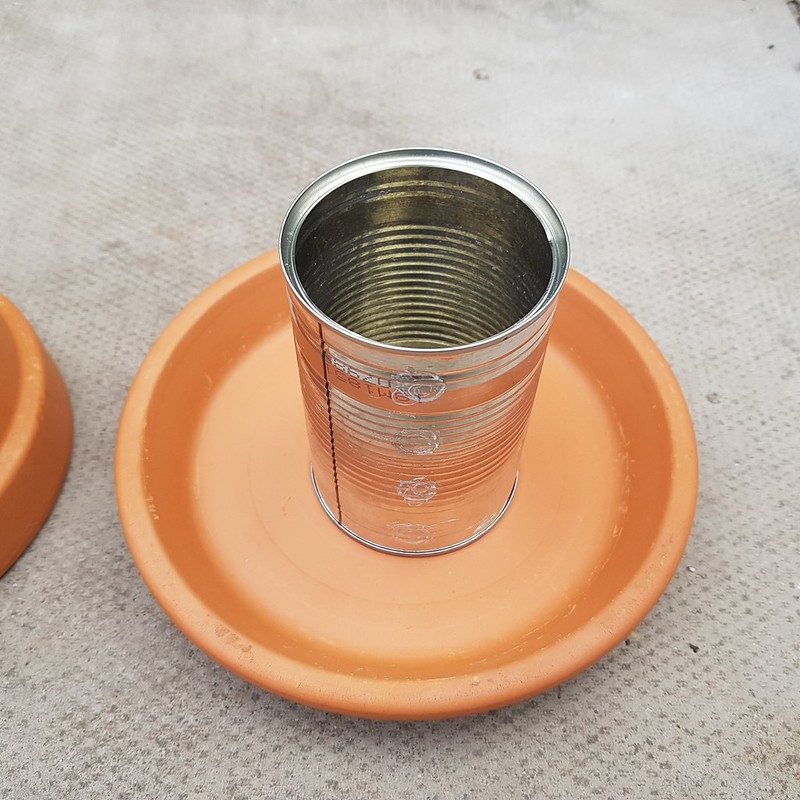
Take both the can and the pot off the saucer.
Place can back on the saucer.
Then, top side down, place the pot over the can onto the saucer.
This can will now collect your butt ends and you can either dispose of the whole can when full and replace it or you can just empty the can and reuse it.

Almost done!
Ideally, you can purchase another terracotta saucer that fits over the top (used to be the bottom) of the pot, not balancing on top but with the edges of the saucer hanging down the sides.
If this was the right way up, it would be with the bottom of the pot fitting snuggly into the saucer.
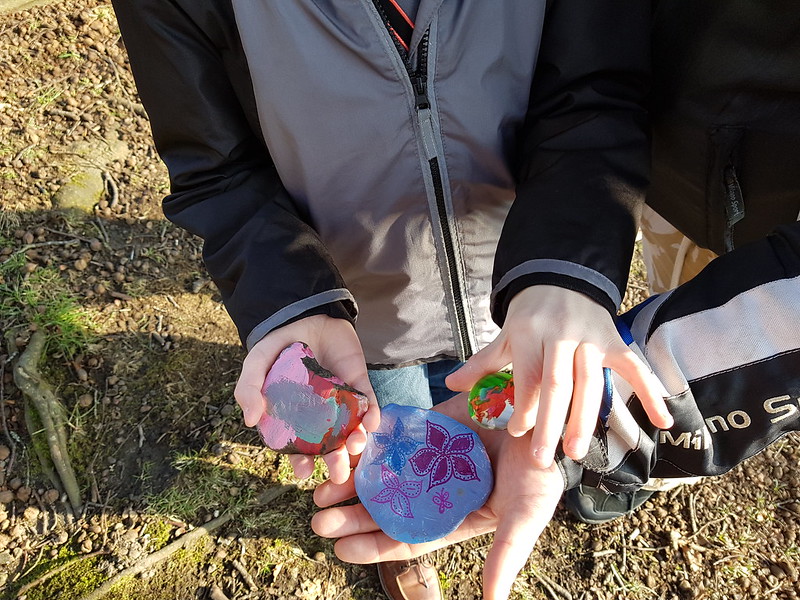
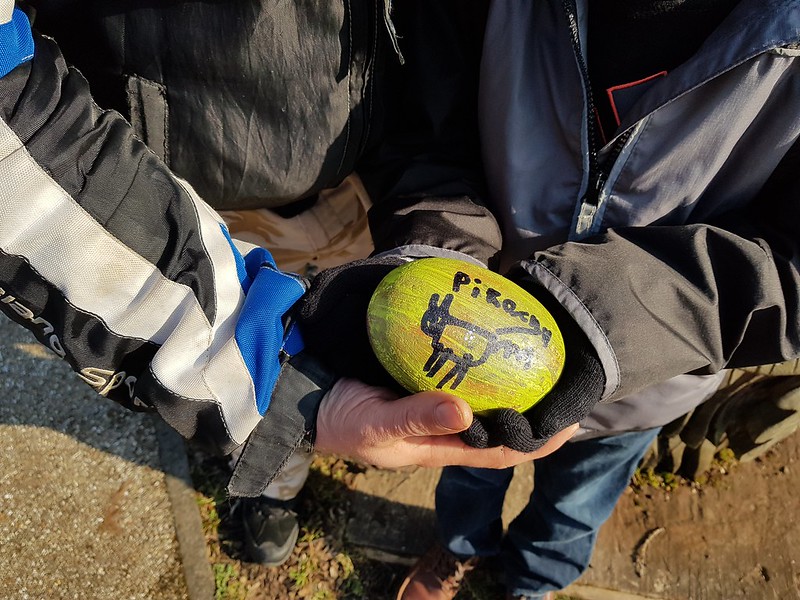
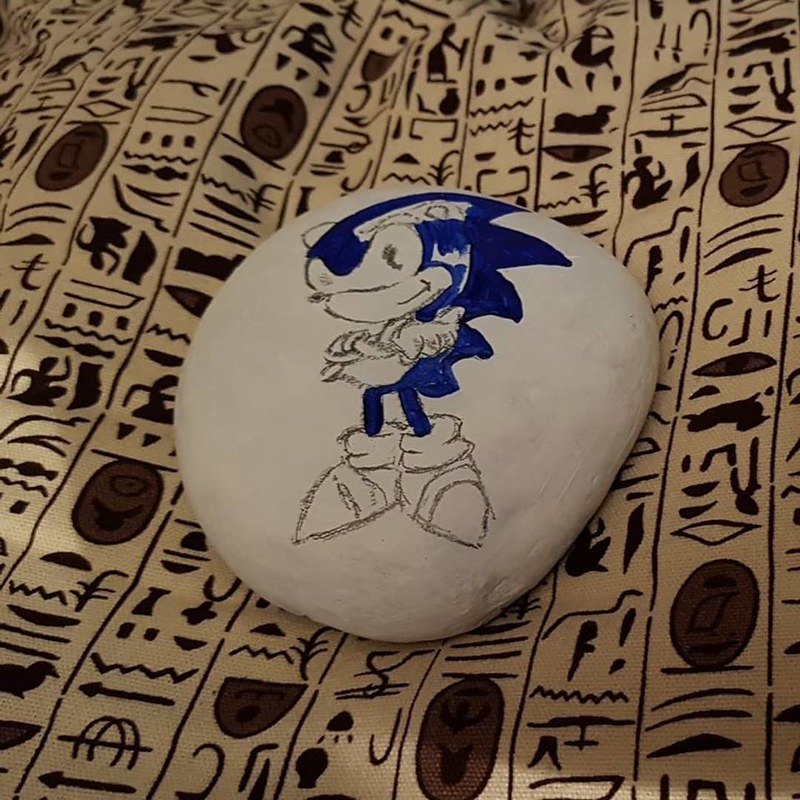
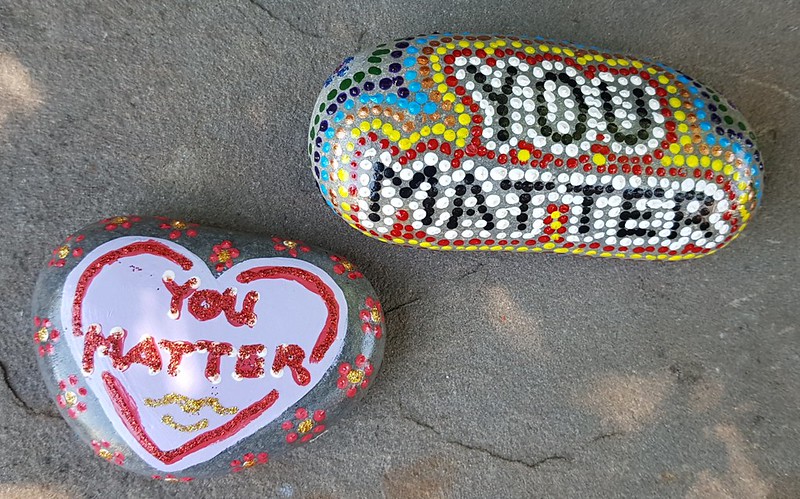
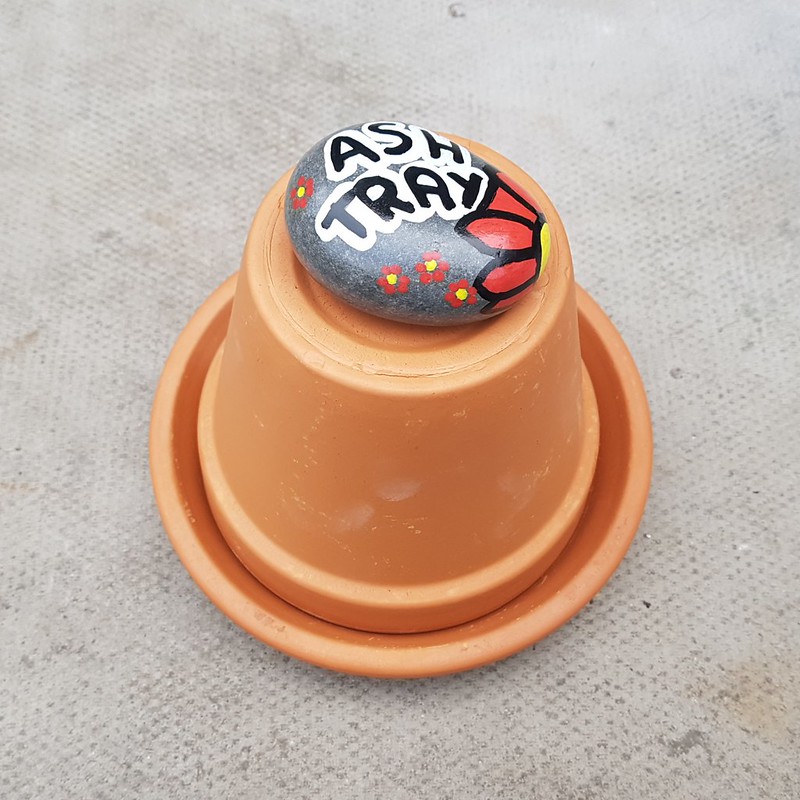
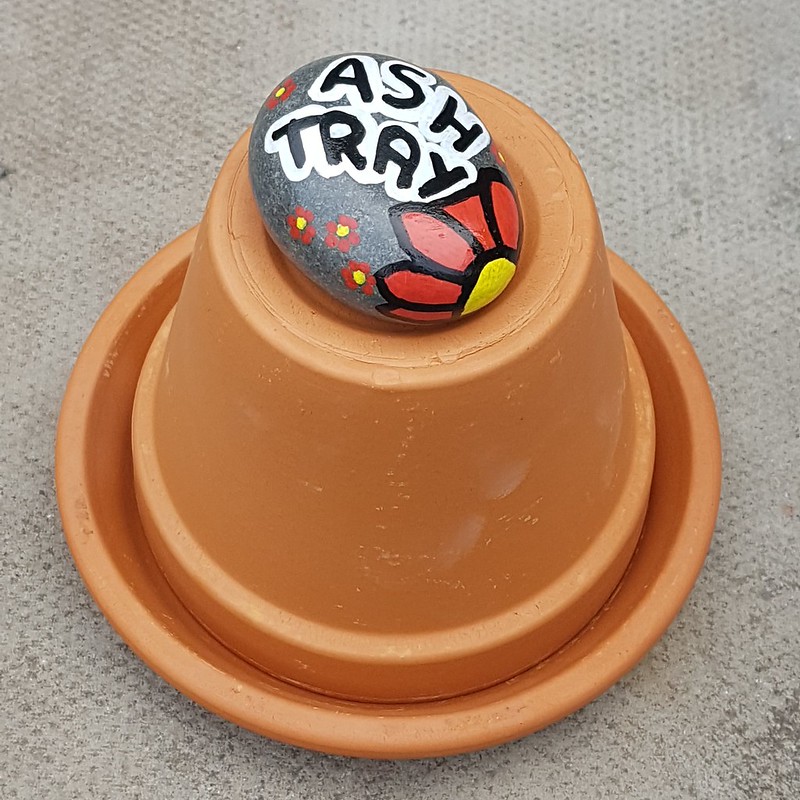
Now, I couldn't get one for this project, so I used a painted stone which fits over the hole on the top of the ashtray.
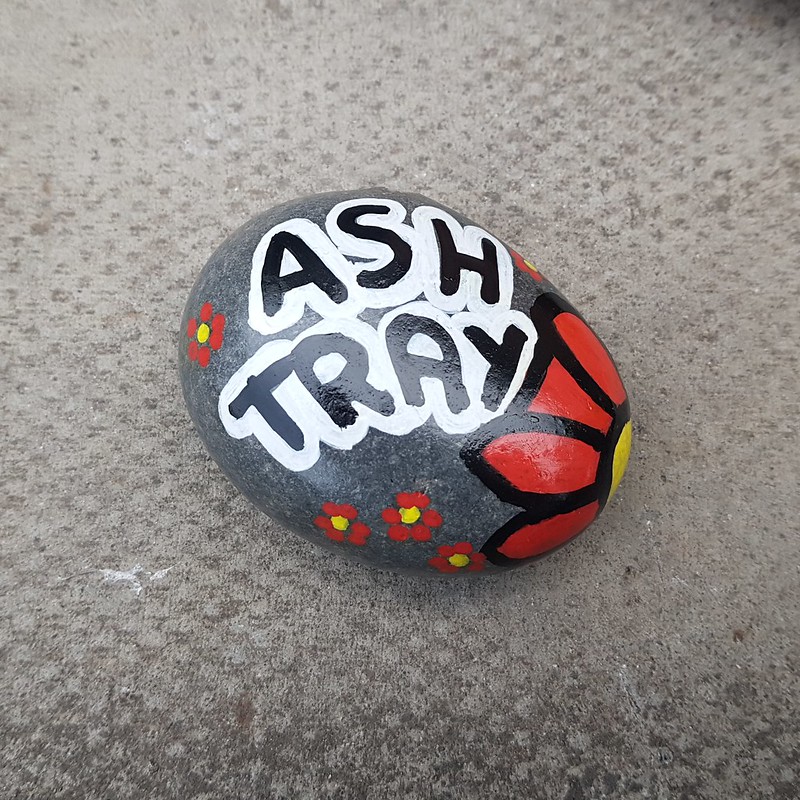
This lid serves has a number of practical purposes.
- When you drop the lit cigarette butt in through the hole (and down into the can), placing a lid on your ashtray will help starve the lit butt of oxygen and help it go out. Never leave a lit cigarette unattended.
- Any smoke that can come up through the hole will be kept in the pot. Of course, this lid will never stop 100% of the smoke but will stop quite a lot of it.
- It will help stop any rain getting in when you leave the ashtray outside.
And there we have it, a simple patio / outdoor ashtray / butt bucket - at a fraction of the cost that they are online. You can make one as little or as big as you wish, you're only restriction is what size pots and saucers you can lay your hands on.
Why not consider getting a little arty and painting it?
How much money have I saved by DIY-ing it?
The lowest price on the pre-made ones I found was £8.99 + free P&P
I spent:
- £1.00 on the pot
- £1.00 on the saucer
- £1.00 more could have been spent on the smaller saucer for the lid, but I've used a painted rock.
If I had purchased all three pieces, it would have cost me £3.00 max! Saving me £5.99. You can even pay even less! If you have a pre-loved / used plant pot and saucer already, clean them up and use those if you wish
It's a bit of a no-brainer actually.
Don't forget, never leave a lit cigarette unattended. I will not be held responsible for any fires!